How to Measure Foundation Elevation Accurately
September 20, 2026
A floor that feels slightly out of level can be easy to dismiss until doors begin sticking, wall cracks widen, or furniture starts rocking in places where it never did before. Learning how to measure foundation elevation gives homeowners a useful way to document floor movement and have a more informed conversation with a foundation professional.
In Dallas-Fort Worth, this matters because expansive clay soils can swell when wet and shrink during dry periods. That change in soil moisture can affect how a foundation is supported over time. An elevation survey does not tell you exactly what repair is needed on its own, but it can show whether floor elevations vary enough to justify a closer inspection.
What Foundation Elevation Measurement Shows
Foundation elevation measurement compares the height of floor points throughout a structure against one consistent reference point. The result is an elevation map, sometimes called a foundation elevation report or floor elevation survey. It helps identify high areas, low areas, and broader patterns across the home.
For example, a home may have a lower area near the center, higher exterior edges, or one side that has dropped relative to the rest of the structure. Those patterns can be related to soil movement, drainage problems, plumbing leaks, failing support elements, or past repairs. The pattern matters more than any single reading.
A homeowner can take basic measurements to track conditions over time. However, determining whether a pattern represents normal construction variation, active foundation movement, or a condition requiring repair takes field experience. A professional inspection also considers cracks, drainage, roof runoff, plumbing, framing, and the foundation type – whether slab, pier and beam, or block and base.
Tools for Measuring Foundation Elevation
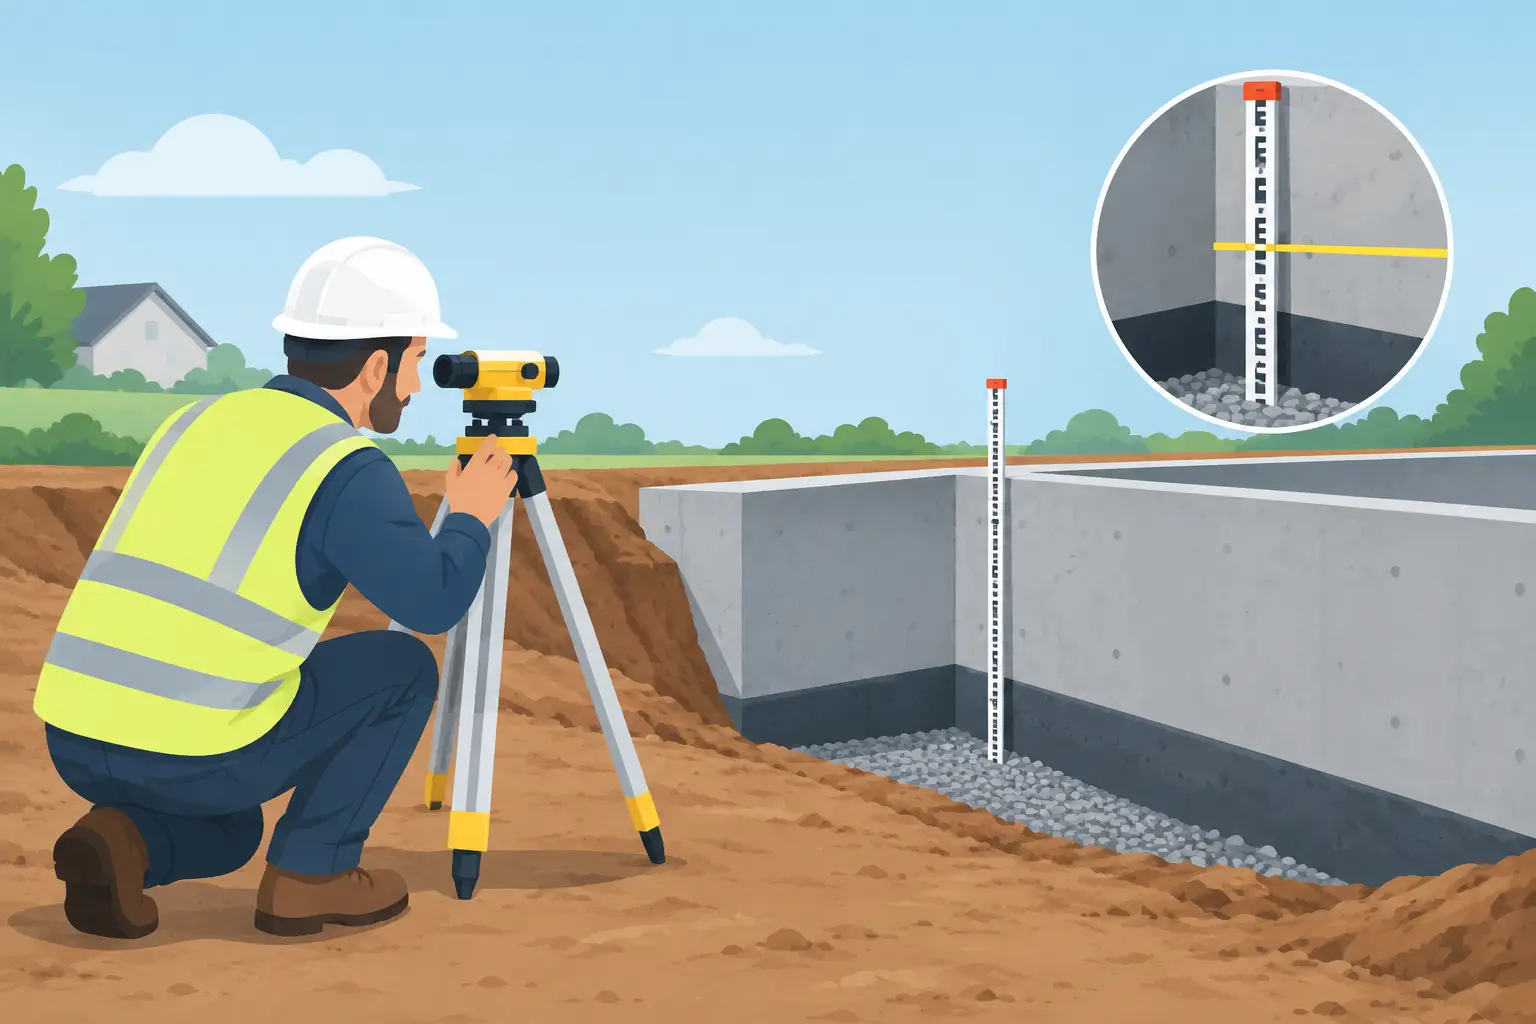
The most accurate field measurements are typically taken with a rotary laser level and a grade rod or measuring staff. A water level can also provide reliable comparative readings when used carefully, though it is slower and more prone to handling errors over a large house.
For a basic interior survey, gather these items:
- A self-leveling rotary laser level with a tripod
- A grade rod or a straight measuring stick marked in inches
- A tape measure, pencil, graph paper, and a calculator
- Painter’s tape or removable labels to mark each measurement point
A long carpenter’s level is useful for checking a small area, but it is not a dependable substitute for an elevation survey. It cannot establish a consistent reference across multiple rooms. Phone leveling apps are similarly limited. They may flag an obvious slope, but they should not be used to make repair decisions.
How to Measure Foundation Elevation Step by Step
Start by choosing a calm, dry day when you can move through the home without interruption. Keep doors and windows closed as they normally would be, and avoid shifting heavy furniture immediately before you measure. If possible, create a simple sketch of the home first, including room names, hallways, and major transitions.
Establish a Fixed Reference Point
Set the laser level on a stable tripod near the center of the home or in a location where the beam can reach as much of the floor plan as possible. Let the unit self-level completely before recording any readings.
Choose one accessible floor location as your benchmark, often called the datum point. This is not necessarily the highest or lowest spot in the house. It is simply the point all other measurements will be compared against. Mark it clearly on your sketch and write down its rod reading.
If walls block the laser beam between rooms, do not guess at the transfer. Move the laser carefully and carry the same reference elevation into the next area using a marked point that both setups can reach. This is where professional equipment and training make a meaningful difference: a small transfer error can distort the entire map.
Lay Out a Consistent Measurement Grid
Measure points on a regular grid, generally every 5 to 10 feet in open areas. In smaller rooms, take readings near the center and in several areas around the perimeter. Add extra points near visible cracks, floor transitions, plumbing locations, exterior doors, and any place that feels noticeably sloped.
Avoid measuring only along walls. A slab can move differently at the interior than it does around the perimeter, and pier and beam floors may have localized deflection between supports. A broad, evenly spaced grid provides a more useful picture.
Write every point directly on your floor-plan sketch. Label points clearly, such as Kitchen A, Kitchen B, Hallway A, and so on. Good records are more valuable than a quick measurement taken from memory.
Record the Grade Rod Readings
With the laser beam fixed, place the grade rod vertically on the floor at each grid point. Record the number where the laser strikes the rod. Keep the rod straight up and down. Leaning it even slightly can change the reading.
One detail often causes confusion: a larger rod reading usually means that floor point is lower, because the laser beam has to travel farther down the rod to reach the floor. A smaller rod reading usually means that point is higher. Confirm how your specific equipment is marked before doing the math.
Calculate the Difference From Your Datum
Subtract each reading from the datum reading, or use the opposite calculation as long as you stay consistent. The goal is to express every point as higher or lower than the reference point.
Suppose your datum reading is 48 inches and another room reads 49 inches. That second floor point is approximately 1 inch lower than the datum. If a reading is 47.5 inches, it is approximately one-half inch higher.
Plot those differences on your sketch. Use plus signs for higher points and minus signs for lower points, or choose another simple system and apply it consistently. You can then see whether changes are isolated or part of a larger pattern.
How to Read the Results Without Jumping to Conclusions
No home floor is perfectly level. Construction tolerances, flooring materials, additions, remodeling, and normal aging can all create minor differences. A small variation does not automatically mean a foundation is failing.
What deserves attention is a clear pattern combined with symptoms. If the elevation map shows a low area and you also see diagonal drywall cracks, gaps at trim, sticking doors, or new separation at exterior brick, the evidence is stronger than any one sign alone. Likewise, a low area beside a bathroom or kitchen may warrant checking for a plumbing leak before assuming the foundation itself is the only issue.
Compare your measurements to the home’s history, too. If you repeat the same survey six months later and the pattern has changed, that is useful information. In North Texas, seasonal moisture changes can influence readings. Consistent drainage and stable soil moisture around the home are often part of protecting long-term foundation performance.
Common Measurement Mistakes
The biggest mistake is treating a single low reading as a diagnosis. Floor coverings can affect readings, especially where carpet, tile, wood, and vinyl meet. Measure on the finished floor consistently, note material changes on your sketch, and avoid comparing readings taken on different surfaces without context.
Another common problem is using an unstable tripod or moving the laser without transferring the reference point accurately. Open windows, vibration, poor battery power, and a laser set on a flexing floor can also create unreliable data.
Finally, do not measure only after a major rainstorm or during an unusually dry stretch and assume the result represents the home’s permanent condition. One survey is a snapshot. Repeated, well-documented measurements are far more helpful when movement is suspected.
When to Call a Foundation Professional
Contact a qualified foundation contractor when elevation differences are paired with active cracks, doors or windows that no longer operate correctly, sloping floors, exterior brick separation, or water collecting near the foundation. An inspection should also be considered before buying or selling a property when visible movement is present.
A professional evaluation goes beyond the laser readings. It examines the cause of movement and separates foundation concerns from drainage, plumbing, framing, or cosmetic issues. That distinction protects homeowners from paying for repairs that do not address the real problem.
For property owners across Dallas-Fort Worth, All American Foundation Repair & Drainage can evaluate elevation concerns alongside the drainage and soil conditions that often drive them. A clear inspection and repair recommendation should explain what was found, why it matters, and what should happen next.
Keep your elevation sketch, dates, photos of cracks, and notes about doors or windows that have changed. Those simple records can turn a vague concern into a clear starting point for protecting your home.