How to Document Foundation Damage Properly
October 31, 2026
A crack over the living room doorway can be easy to dismiss until a door begins dragging, tile starts separating, or the crack gets wider after a long Texas dry spell. Knowing how to document foundation damage gives you a reliable record of what you are seeing, when it began, and whether it is changing. That record can help you communicate clearly with a foundation professional, support an insurance or real estate conversation when applicable, and make decisions based on evidence instead of worry.
Documentation is not a diagnosis. Cracks and floor movement can have more than one cause, and North Texas clay soil, drainage conditions, plumbing leaks, and seasonal moisture shifts can all affect a structure differently. Still, clear records make a professional inspection more productive and help protect your investment from delayed action.
Start Before You Patch or Paint
Homeowners often repair a drywall crack or touch up peeling paint before they have documented it. That may make the room look better temporarily, but it removes useful evidence of movement. Before making cosmetic repairs, take photographs and make notes about the issue.
Begin with a simple date-stamped log. A notebook works, but a digital document or folder is easier to organize and share. Record the date you first noticed each concern, its location, and any changes that seem connected to it. For example, note whether a crack appeared after heavy rain, an extended period without rain, a plumbing repair, or a landscaping change.
Use plain language. “Vertical crack at the top right corner of the back bedroom window” is more useful than “crack in bedroom.” If you know the room orientation, include it: “north wall” or “rear wall.” Small details can help a foundation specialist identify patterns across the home.
Take Photos That Show Foundation Damage Clearly
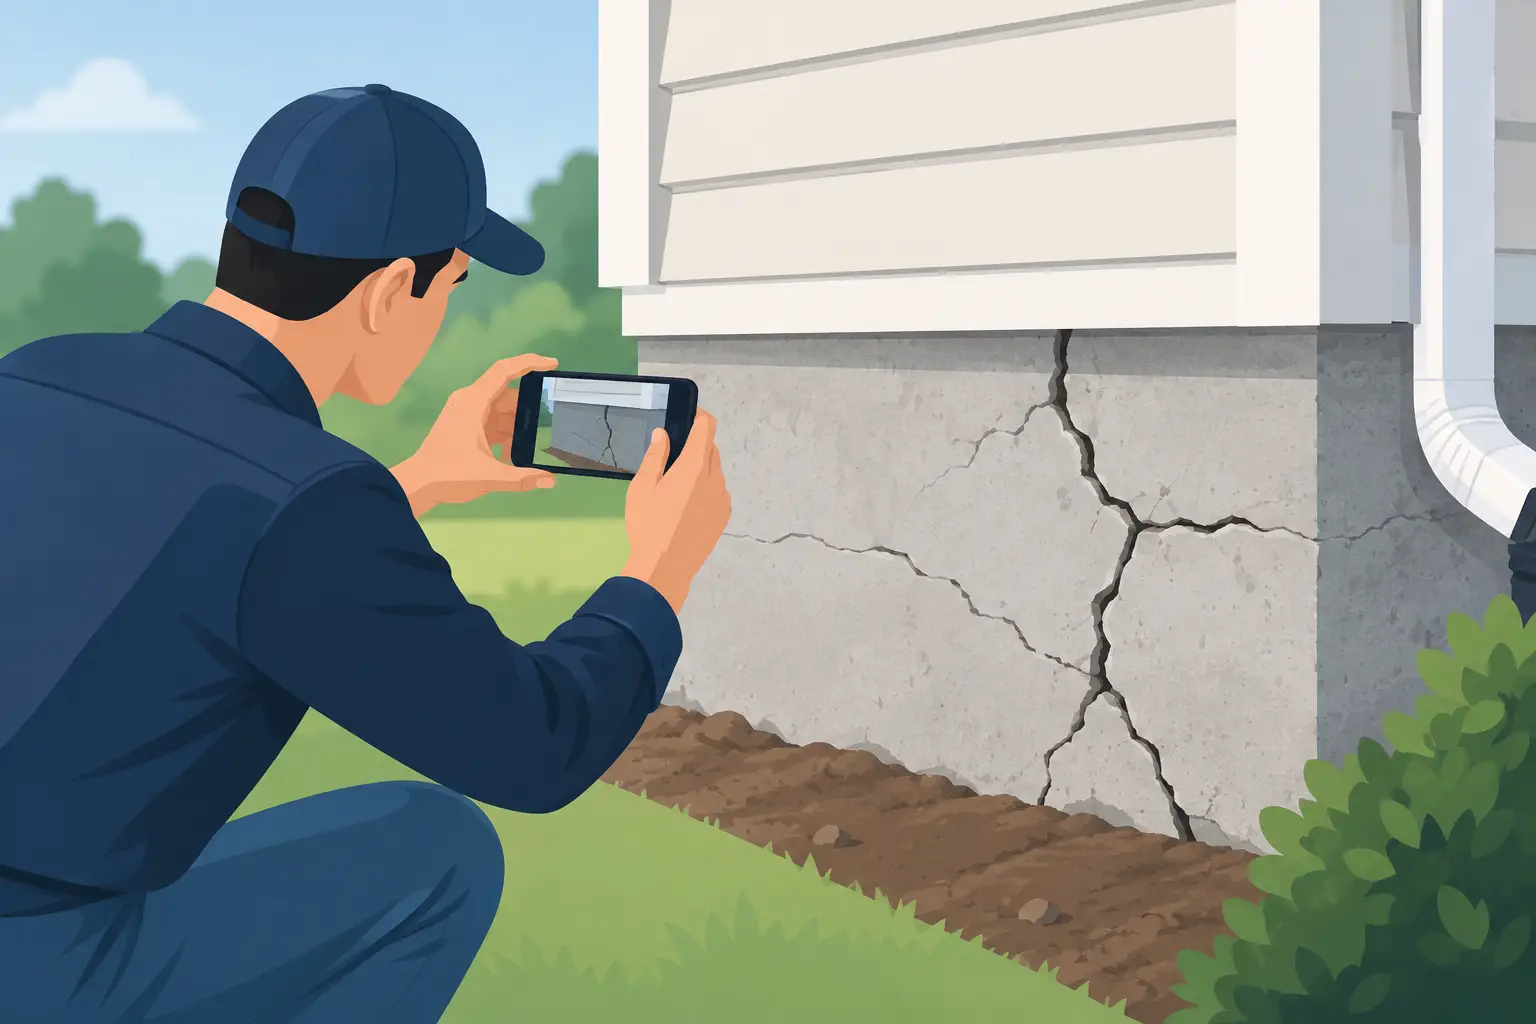
Good photos should show both the detail and the bigger picture. Take at least one close-up image of the crack, gap, or separation, then step back and photograph the surrounding wall, floor, window, or exterior elevation. A close-up shows the condition. A wider photo establishes exactly where it is.
For cracks, place a ruler or tape measure beside the opening before taking the close photo. Keep the ruler flat against the surface and make sure the measurement can be read in the image. Photograph the same area from the same angle during future checks. Consistent photos make it easier to see whether a condition is stable or progressing.
Natural daylight is helpful outside. Indoors, use enough light to make the crack visible without creating harsh shadows. Avoid relying on blurry screenshots or photos taken from far away. Rename digital files with a date and location, such as “2026-10-29-front-bedroom-door-crack.”
Photograph more than the most obvious crack. Foundation movement can show up in several places, including:
- Interior drywall cracks, especially around doors, windows, and ceiling joints
- Doors or windows that stick, bind, will not latch, or show uneven gaps
- Sloping, sagging, or uneven floors
- Gaps between trim and walls, cabinets and walls, or counters and backsplashes
- Exterior brick cracks, mortar separation, displaced siding, or gaps near windows
- Separating concrete flatwork, such as patios, driveways, and walkways
Exterior concrete movement does not automatically mean the house foundation is failing. Flatwork is often a separate slab, and soil movement can affect it differently. It is still worth documenting because it may reveal drainage patterns or changing grades around the home.
Include a Reference Point in Every Set of Photos
A photo is far more valuable when someone can find the exact spot again. Include a recognizable reference point, such as a window, doorway, corner, cabinet, outlet, or exterior hose bib. For larger exterior areas, take one wide shot from the street or yard and several closer shots in sequence.
If you are documenting a brick crack, capture the full wall first, then the opening near the crack, and finally the crack with a ruler. That sequence gives the inspector context without requiring guesswork.
Measure and Map What You Find
Measurements do not need to be complicated. Your goal is to establish a repeatable baseline. For a crack, measure its widest point in inches or millimeters and record its approximate length. Note whether it is vertical, horizontal, diagonal, stair-step in brick, or widening at one end.
For doors and windows, record what happens when you operate them. Does the bedroom door rub at the top? Is there a visible gap at the latch side? Does a window need force to close? These functional changes can be as meaningful as a visible crack.
Create a basic floor plan of the home, even if it is hand-drawn. Mark rooms, exterior doors, and major cracks or sticking openings. Assign each item a number that matches your notes and photos. A simple map helps reveal whether concerns are concentrated on one side of the house or spread throughout the structure.
Do not assume that a single crack means a major foundation problem, or that several cracks prove one. Homes settle and building materials expand and contract. What matters is the pattern, severity, progression, and the conditions surrounding the home.
Record Drainage and Soil Conditions Around the Home
In the Dallas-Fort Worth area, foundation documentation should include the ground around the structure. Expansive clay soils respond strongly to changing moisture levels. Water that collects beside the home, downspouts that discharge too close to the foundation, and bare soil that dries and pulls away from the slab can all be relevant observations.
Walk the perimeter after a normal rainfall and again during dry weather. Take photos of standing water, overflowing gutters, short downspout extensions, low areas near the home, and soil that slopes toward the foundation. Note the date, recent weather, and how long water remains after rain stops.
Also document irrigation patterns. A sprinkler head that regularly sprays the wall or foundation area is different from a planned watering routine designed to maintain more consistent soil moisture. The goal is not to diagnose the cause yourself. It is to give the foundation professional a clearer picture of the moisture conditions affecting the property.
If you see signs of a plumbing leak, such as an unexplained wet area, a sudden increase in water usage, warm flooring, or water near the foundation without recent rain, document what you see and contact the appropriate plumbing professional promptly. Water issues should not be allowed to continue while you wait to see whether a crack changes.
Track Changes at Practical Intervals
For a newly discovered issue that does not appear urgent, check it regularly rather than obsessively. Monthly documentation is often enough to identify a trend. Take new photos after major weather events or if you notice a clear functional change, such as a door that suddenly will not close.
Use the same ruler, location, angle, and lighting whenever possible. Then add a short note: “No visible change since July,” “crack widened near ceiling,” or “front door now catches at top corner.” Avoid making a claim such as “the house is sinking” unless a qualified professional has made that determination.
A crack monitor can provide a more precise record in some situations, but it is not a substitute for an inspection. If you use one, photograph its installation and record readings according to the manufacturer’s instructions. For many homeowners, consistent photos, measurements, and notes are sufficient for the first conversation.
Keep the Evidence Organized for an Inspection
Bring your documentation together before requesting a foundation evaluation. Create folders for interior photos, exterior photos, drainage conditions, and past repair records. Include prior foundation work, drainage installations, plumbing reports, engineer reports, and any warranty paperwork you have available.
When the inspector arrives, point out the issues that concern you most, but also share the full pattern. A repair recommendation should be based on the property as a whole, not only the largest crack in one room. Ask what the observed conditions may indicate, what should be addressed first, and whether drainage correction is part of the long-term solution.
At All American Foundation Repair & Drainage, we have seen how quickly uncertainty eases when homeowners can show clear, dated information instead of trying to remember when each issue started. A thorough evaluation can determine whether repairs are needed now, whether drainage is contributing to movement, or whether monitoring is the sensible next step.
When to Schedule Professional Help Sooner
Do not wait for months of documentation if changes are rapid or severe. Schedule a professional assessment promptly if you notice a large new crack, significant brick separation, rapidly worsening doors or windows, noticeably uneven floors, or gaps opening around exterior openings. The same is true if drainage is repeatedly allowing water to stand against the home.
Keep safety first. Do not enter a crawl space with standing water, exposed wiring, questionable supports, or signs of pest activity. Do not attempt to level a home, fill structural cracks, or alter drainage near the foundation without qualified guidance. A temporary cosmetic fix can hide conditions that need a more durable solution.
Your home does not need to look perfect to deserve attention. Start with dated photos, straightforward notes, and a careful look at the soil and water around the structure. That small effort gives you a stronger foundation for the next decision – whether that means continued monitoring, drainage improvements, or a professional repair plan built for long-term stability.